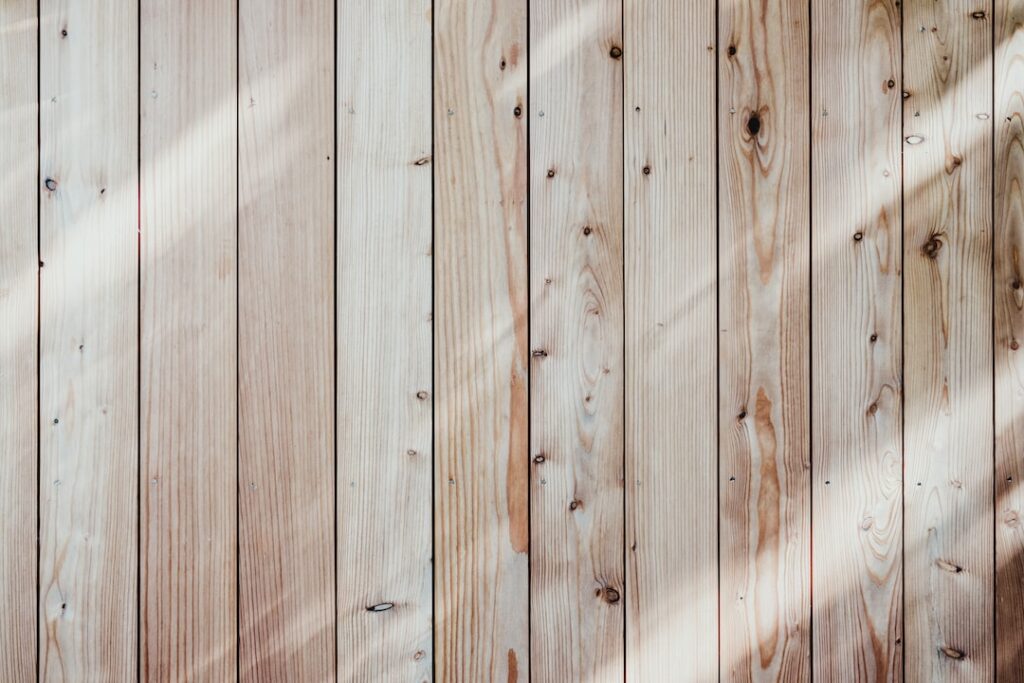
How to Paint Over Stained Wood
So, you’ve got some stained wood in your home that you’re not too fond of, but you’re not sure how to make it look brand new again. Fear not! In this post, we’ll walk through the process of painting over stained wood and give you the tips and tricks you need to do it right. By the end of this post, you’ll be ready to tackle your stained wood surfaces with confidence and transform them into something truly spectacular.
Interest
Before we dive into the how-to portion of this post, let’s take a moment to consider just how prevalent stained wood surfaces are. Did you know that according to a Home Improvement Research Institute study, over 70% of homes in the United States have wood surfaces that are stained or varnished? This means that there’s a good chance you have some stained wood in your own home that could benefit from a fresh coat of paint!
Understanding the Surface
The first step in any successful painting project is understanding the surface you’re working with. Stained wood can present some unique challenges, so it’s essential to assess the condition of the wood before you begin. Look for any areas of damage, such as warping or rot, and address those issues before proceeding with painting.
How-To: Assessing the Wood Surface
1. Inspect the wood for any signs of damage or wear.
2. Sand down any rough or uneven areas to create a smooth painting surface.
3. Clean the wood thoroughly to remove dirt, grime, and any lingering residue from the previous stain or varnish.
Choosing the Right Paint and Primer
Not all paints and primers are created equal, and this is particularly true when it comes to painting over stained wood. Look for a high-quality bonding primer that is specifically formulated to adhere to slick surfaces like stained wood. Additionally, choose a paint that is suitable for the intended use of the finished surface. For example, if you’re painting a high-traffic area, opt for a durable paint that can stand up to daily wear and tear.
How-To: Selecting the Right Paint and Primer
1. Research and choose a bonding primer designed for use on stained wood surfaces.
2. Select a high-quality paint in the color and finish of your choice.
3. Consider the specific use and location of the painted surface when choosing your paint to ensure longevity and durability.
Preparing for Painting
Preparation is key to achieving a professional-looking finish when painting over stained wood. Take the time to tape off any areas that you don’t want to be painted, and lay down drop cloths to protect the surrounding surfaces from drips and spills. Additionally, ensure that the area is well-ventilated and that you have all the necessary tools and supplies on hand before you begin.
How-To: Preparing for Painting
1. Gather all necessary supplies, including paint, primer, brushes, rollers, painter’s tape, drop cloths, and ventilation equipment.
2. Clean and dust the wood surface to be painted.
3. Tape off any adjacent surfaces or areas that you don’t want to be painted.
Applying the Primer and Paint
With the surface prepped and the right products in hand, it’s time to start painting! Begin by applying a coat of bonding primer to the stained wood, following the manufacturer’s instructions for drying times and application techniques. Once the primer is dry, apply your chosen paint in smooth, even strokes, working from top to bottom to prevent drips and runs.
How-To: Applying the Primer and Paint
1. Use a high-quality brush or roller to apply an even coat of bonding primer to the wood surface.
2. Allow the primer to dry completely before applying the first coat of paint.
3. Apply the paint in smooth, even strokes, working methodically across the surface to ensure uniform coverage.
Finishing Touches
After the final coat of paint has been applied and has dried completely, take a step back and admire your handiwork! Once the paint is fully cured, consider applying a clear topcoat to protect the finish and increase durability. This step is especially important for surfaces that will be subjected to heavy use or potential moisture exposure.
How-To: Adding a Clear Topcoat
1. Choose a clear topcoat product designed for use over painted surfaces.
2. Apply the topcoat according to the manufacturer’s instructions, ensuring even coverage and proper drying time.
Summary
Painting over stained wood doesn’t have to be intimidating. With the right preparation, products, and techniques, you can breathe new life into your wood surfaces and create a fresh, updated look for your home. By following the steps outlined in this post and taking your time to do the job right, you’ll be amazed at the transformation you can achieve.
So, go ahead and gather your supplies, assess your wood surfaces, and get ready to unleash your inner DIY enthusiast. A beautifully painted space is just a few brushstrokes away!


